Setup a Coldcard wallet
If you have followed the Quick Start guide, you already know how to operate Sparrow as a software wallet. However, as your Bitcoin holdings grow, keeping your private keys on an internet-connected computer becomes an unnecessary risk. This is where hardware wallets come into play.
Why a Hardware Wallet & Why Coldcard?
Hardware wallets are dedicated offline devices engineered to do one thing securely: generate and store your private keys without ever exposing them to the internet. Even if your computer is compromised with malware, the hacker cannot steal your Bitcoin because the keys physically cannot leave the hardware device.
The Coldcard stands out because it offers a true “Air-gapped” workflow. This means you never have to connect it to your computer via a USB cable. All communication between the Sparrow interface and the Coldcard is done by passing a physical MicroSD card back and forth. It is the ultimate level of financial isolation.
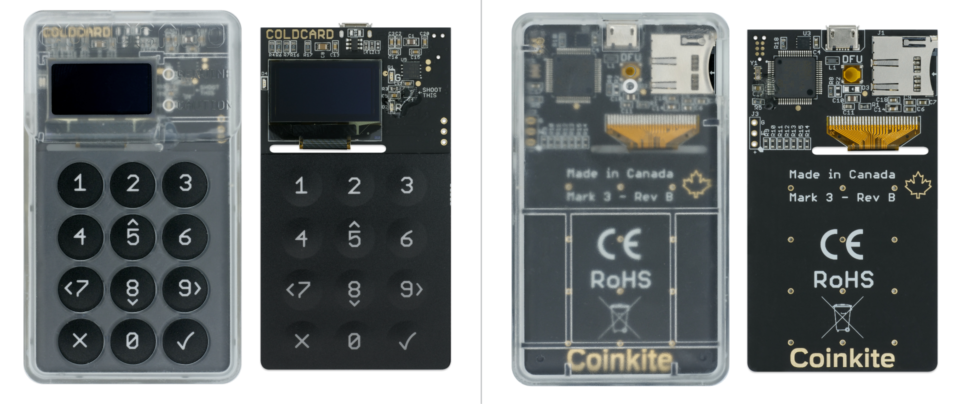
Supply Chain Security & Unboxing
Security begins before you even turn the device on. You should strictly order your Coldcard directly from the manufacturer (Coinkite). Do not use third-party resellers or marketplaces to avoid compromised devices.
When your Coldcard arrives, pay close attention to the tamper-evident security bag. If anyone has attempted to open the bag during transit, the seal will permanently display a “VOID OPEN” pattern.
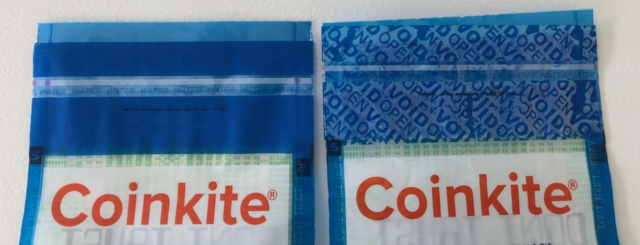
The bag also features a unique number. When you power on the Coldcard for the very first time, the device screen will display a number. These two numbers must match perfectly. If they do not, do not use the device.
Initial Device Initialization
To maintain a strict air-gap, power your Coldcard using a simple USB power bank or a wall adapter. Never plug it into your computer.
Upon initialization, you will be prompted to create a PIN. Coldcard splits this PIN into two parts to protect against phishing. You enter a prefix (e.g., 1234), and the device shows you two unique anti-phishing words. You must memorize these words. Every time you log in, if you see different words, immediately unplug the device—it means someone has swapped your physical Coldcard for a fake one. If you have doubts about device authenticity, refer to our security FAQ.
Once your PIN is established, navigate the menu to create your cryptographic seed phrase.
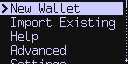
Select New Wallet. The device will generate 24 words. Write these words down securely on paper or stamp them in metal. Never type them on a phone or computer keyboard. The Coldcard will quiz you to ensure you wrote them correctly. Your keys are now successfully generated offline.
Exporting to Sparrow (Air-gapped)
Sparrow needs to know your public addresses to show your balance, but it does not need your private keys. We will export a generic JSON file containing only your public data.
Insert a MicroSD card into the top slot of your Coldcard.
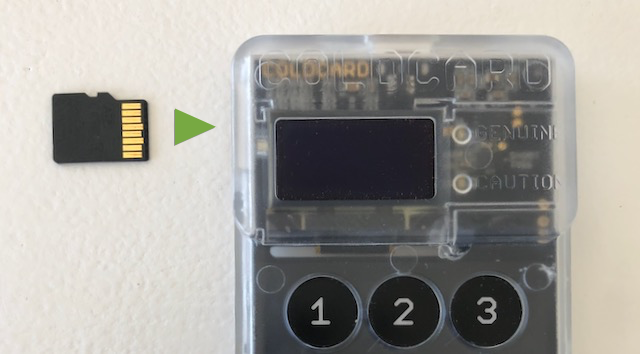
On the Coldcard, go to Advanced -> MicroSD -> Export Wallet -> Generic JSON. This writes a public configuration file to the SD card. Eject the card and insert it into your computer.
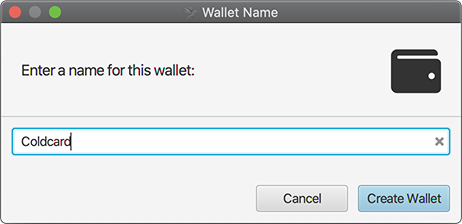
Now, open Sparrow Wallet and select File -> New Wallet. Give your new hardware wallet profile a recognizable name.
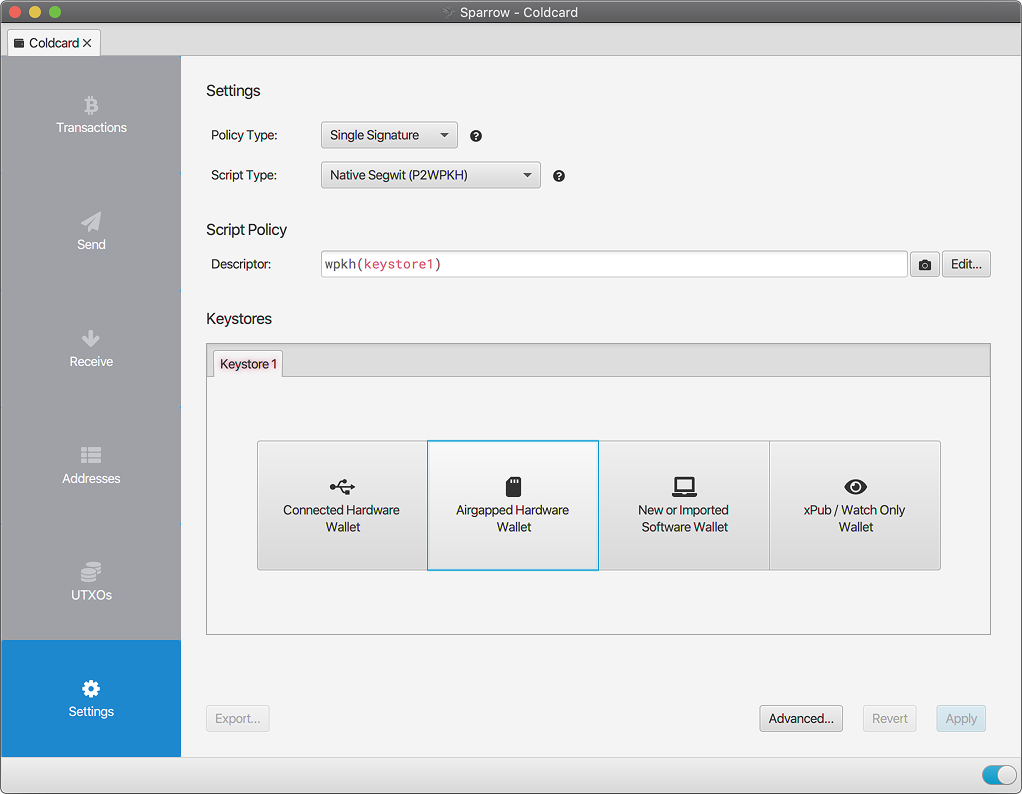
Leave the default script types intact. In the Keystores section, ignore the USB options and click specifically on the Airgapped Hardware Wallet tile.
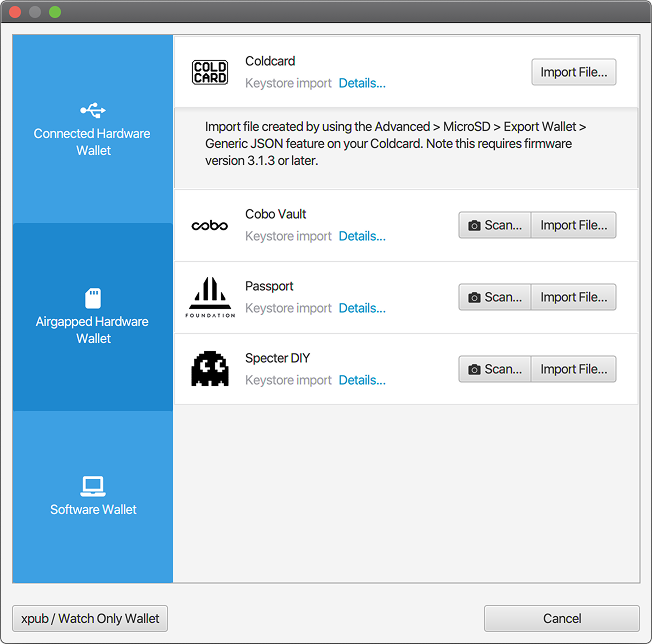
Locate the Coldcard row and click Import File…. Navigate to the SD card on your computer and select the coldcard-export.json file you just generated.
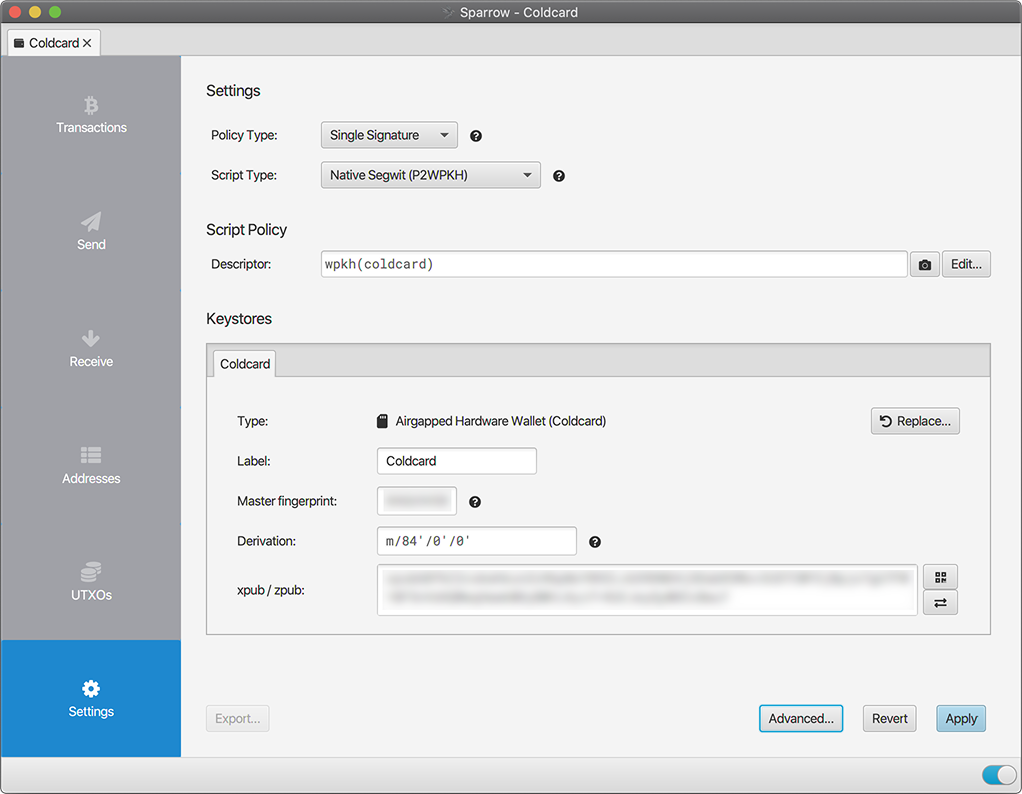
Sparrow will ingest your extended public key (xpub) and master fingerprint. Click Apply at the bottom right. You now have a fully functional “Watch-Only” wallet interface. Sparrow can receive funds and monitor balances, but it physically cannot spend them without the Coldcard’s permission.
Receiving and Sending (Air-gapped)
Receiving Bitcoin
Navigate to the Receive tab in Sparrow and click Get Next Address.
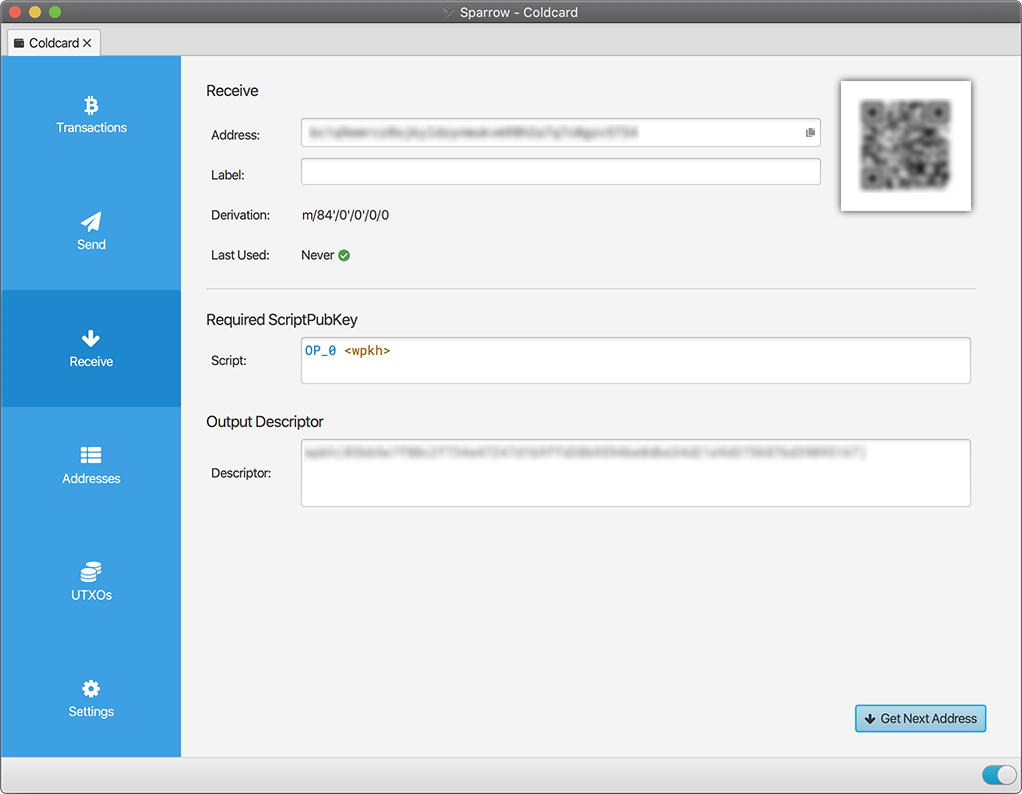
Before transferring large amounts, you should verify this address on the Coldcard screen (using the Address Explorer menu). This confirms that a computer virus has not replaced the address in the Sparrow interface with a hacker’s address.
Sending Bitcoin via PSBT
When you want to spend funds, you must create a Partially Signed Bitcoin Transaction (PSBT). Go to the Send tab, enter the destination address, the amount, and click Create Transaction.
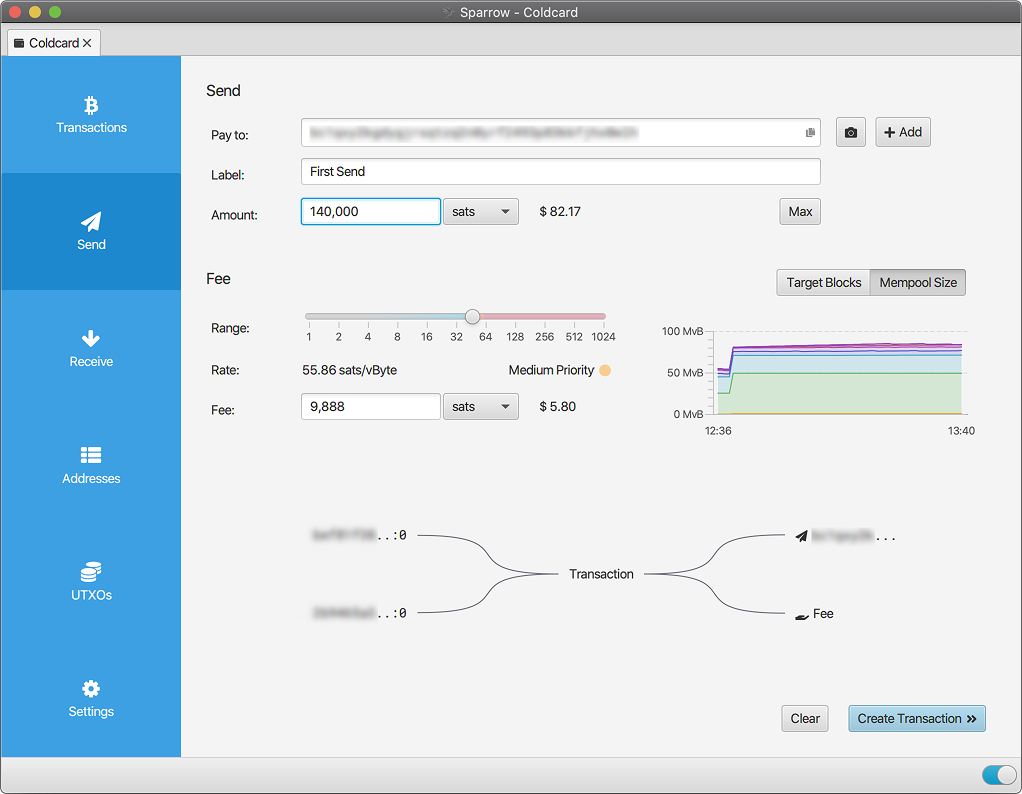
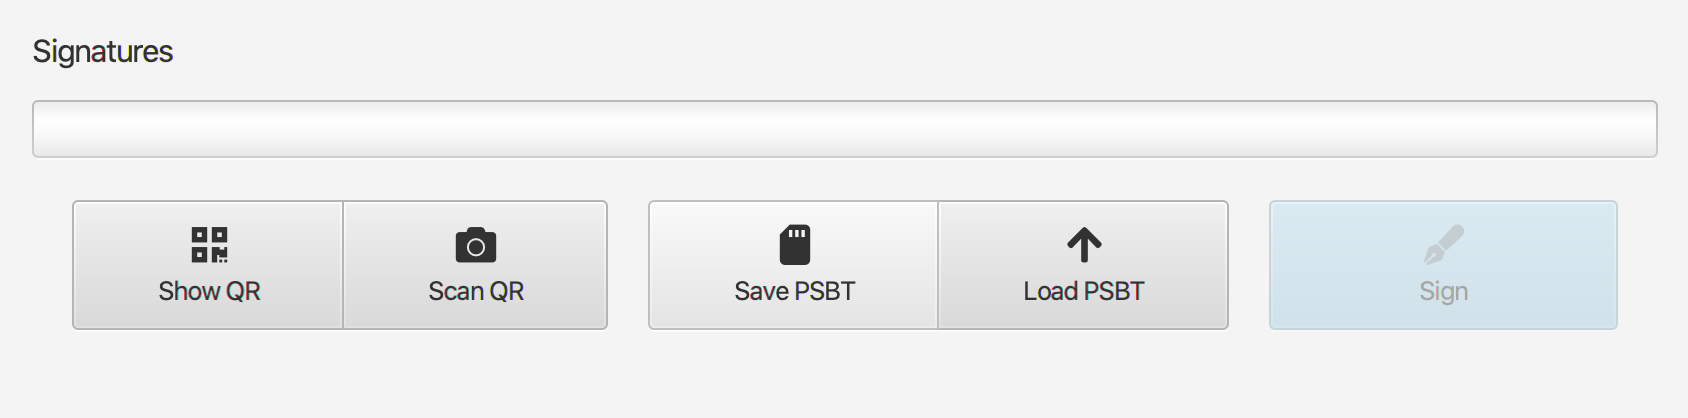
Sparrow compiles the transaction draft. Because Sparrow lacks your private keys, you cannot simply broadcast it. Click on Finalize Transaction for Signing. At the bottom of the next screen, click Save PSBT and save the file onto your MicroSD card.
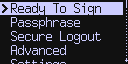
Eject the SD card from your computer and insert it into your powered-on Coldcard. On the device menu, select Ready To Sign.
The Coldcard will read the draft. Carefully verify the output address and amount on the device screen. If everything matches your intentions, approve it. The Coldcard will apply your cryptographic signature and save a new file ending in -signed.psbt to the SD card.
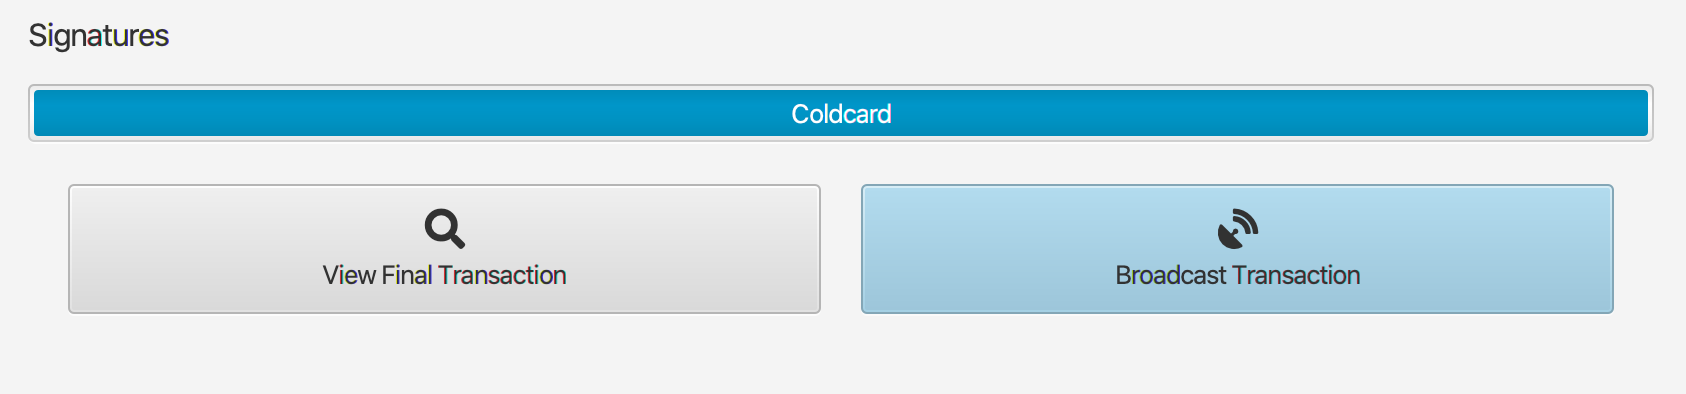
Move the SD card back to your computer. In Sparrow, click Load PSBT, select the signed file, and watch the signature bar turn blue. You can now confidently click Broadcast Transaction to send your funds into the network (ideally routed securely through your own Bitcoin Core node).
Bonus: Adding an Account
If you wish to separate your funds (for example, keeping KYC-bought coins separate from peer-to-peer coins) without buying a second device or writing down a new 24-word phrase, you can simply add a new “Account”.
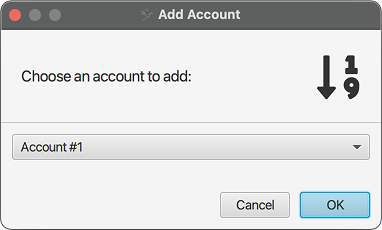
In Sparrow’s Settings tab, click the Add Account… button at the bottom and select a new account number. This tells the system to use a different derivation path. You then repeat the MicroSD export process on the Coldcard, changing the account number in the export menu, to link this fresh, mathematically isolated wallet to your Sparrow interface.