Quick Start Guide
This comprehensive walkthrough will guide you from a fresh setup to a fully operational Sparrow Wallet desktop configuration. We will focus on best practices to ensure your keys, data, and financial privacy remain strictly under your control from day one.
Sparrow Installation
First, download the correct installation package for your operating system. To ensure complete security in Bitcoin environment, always establish a habit of verifying release signatures using the provided manifest file and developer PGP keys before executing Sparrow.
Welcome to Sparrow: Connection Paths
When launching Sparrow for the first time, you are greeted by an introductory setup wizard. Sparrow is built with flexibility in mind: it can operate completely offline as an air-gapped transaction coordinator, or online to dynamically track your balances. To fetch blockchain data, Sparrow requires a node connection.
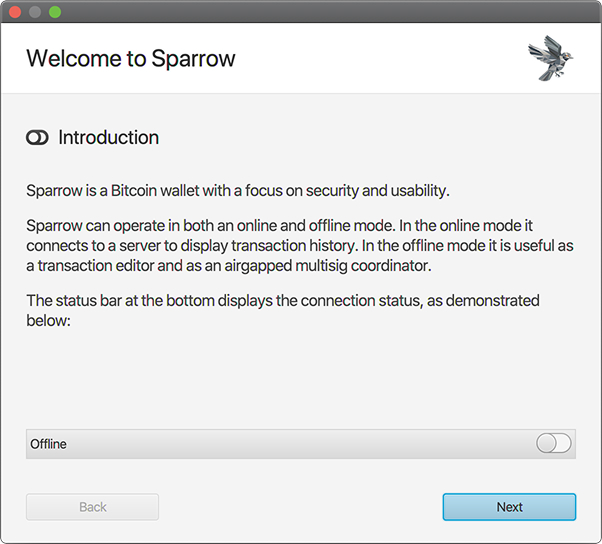
You can choose between three distinct architecture models:
- Public Servers: Connects directly to trusted public Electrum nodes. This offers the fastest initial setup, but leaves a minor privacy trade-off as you share query trends with the node operator.
- Bitcoin Core: Links Sparrow directly to your local full node for sovereign, trustless transaction validation.
- Private Electrum Server: Connects to your own personal server backend (such as Fulcrum or Electrs) running on a home device.
Sparrow Server Setup
Click on the Configure Server button within the wizard interface. For this quick start path, we will choose the Public Server option. When activated, Sparrow randomly pairs with an operational node from a vetted community list unless a specific address is entered.
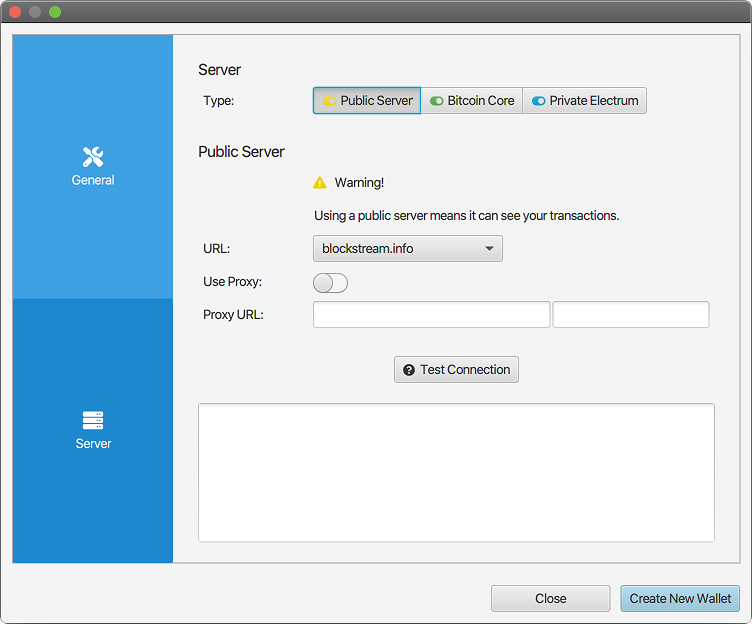
Utilizing a public server means a third party indexes your external transaction activity and matches it with your temporary IP address. Treat this setup as an onboarding phase and aim to transition to your own backend as your holdings grow.
Click Test Connection to ensure status updates properly. Once the connection indicator turns green, close the preference pane and select Create New Wallet.
Creating Your First Wallet
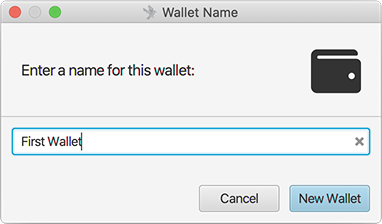
Provide a recognizable name for your wallet file. This label is encrypted and saved strictly on your local disk; it is never shared with the network.
Next, you will view the main wallet configuration dashboard. For an optimal, standard desktop setup, we will retain the highly efficient modern defaults:
| Policy Type | Single Signature (A straightforward layout where one private key holds full spending authority). |
|---|---|
| Script Type | Native Segwit (P2WPKH). The gold standard for modern transactions, utilizing efficient bc1q addresses to ensure the lowest possible miner fees. |
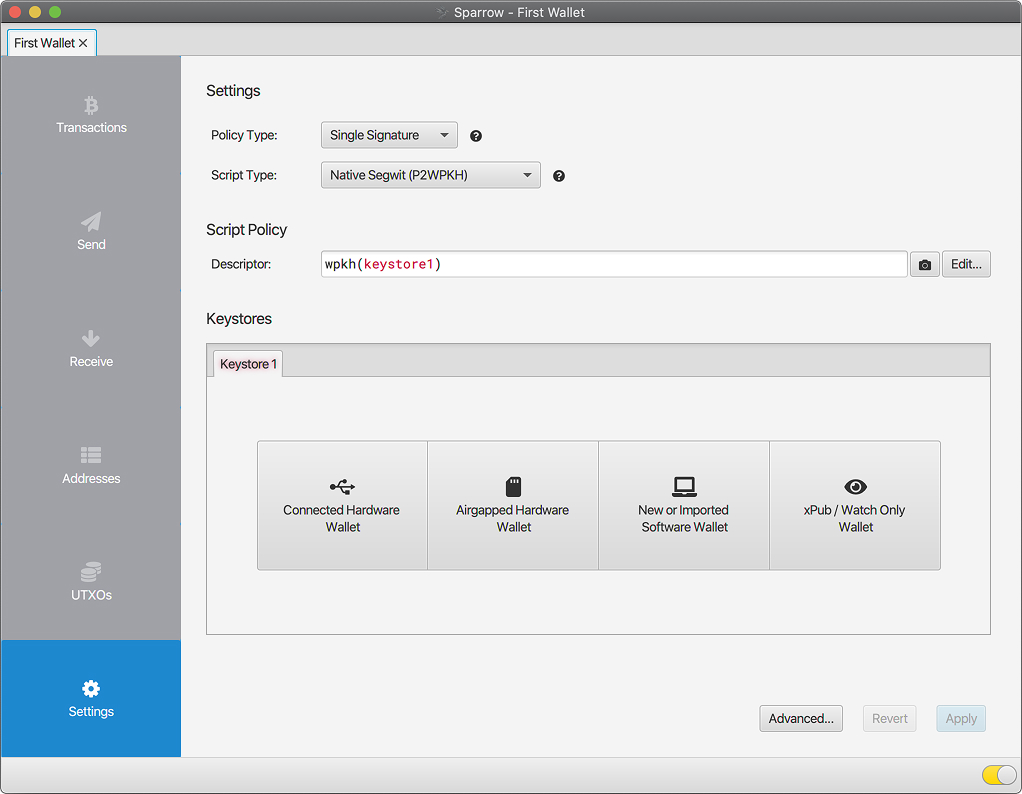
To initiate your cryptographic keys, select the New or Imported Software Wallet tile located under the Keystores section.
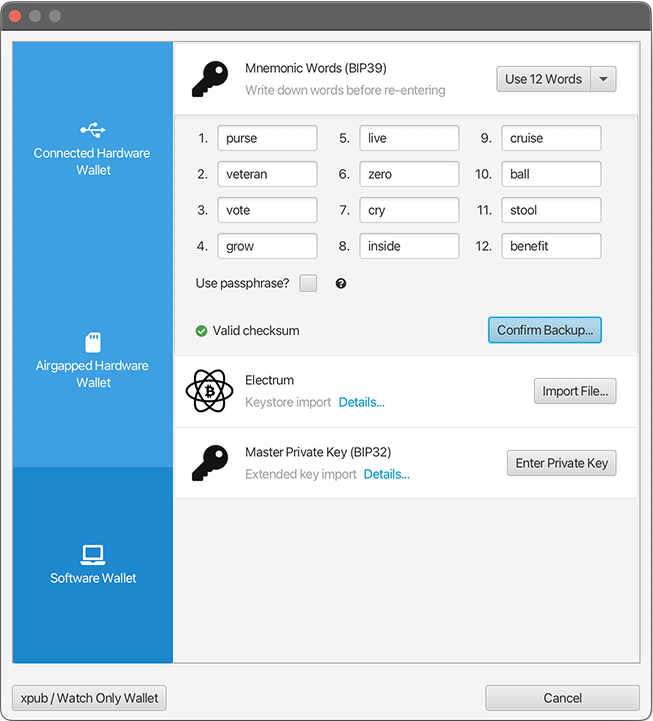
Choose Mnemonic Words (BIP39) and toggle the dropdown menu to 12 Words. A 12-word length is mathematically bulletproof and represents the standard for modern software keys. Click Generate New.
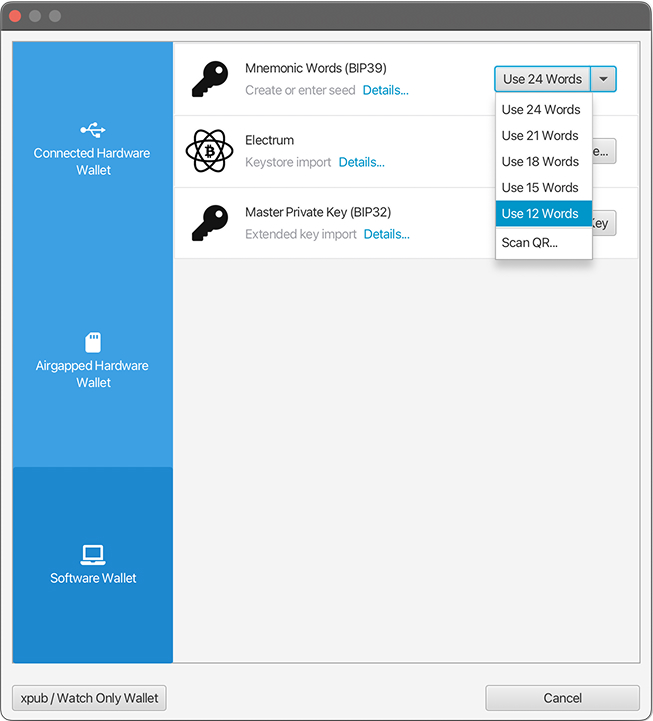
Physically commit these 12 words to paper or metal. Never store them in a cloud notepad, take digital screenshots, or expose them to an online environment. This phrase represents ownership of your bitcoin; anyone who gains access to it can transfer your funds instantly.
Click Confirm Backup. Sparrow will prompt you to type the words back in to verify an accurate record. Once done, select Create Keystore.
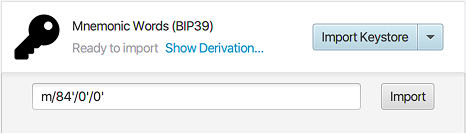
Keep the default derivation path (m/84'/0'/0') unchanged, and click Import Keystore.
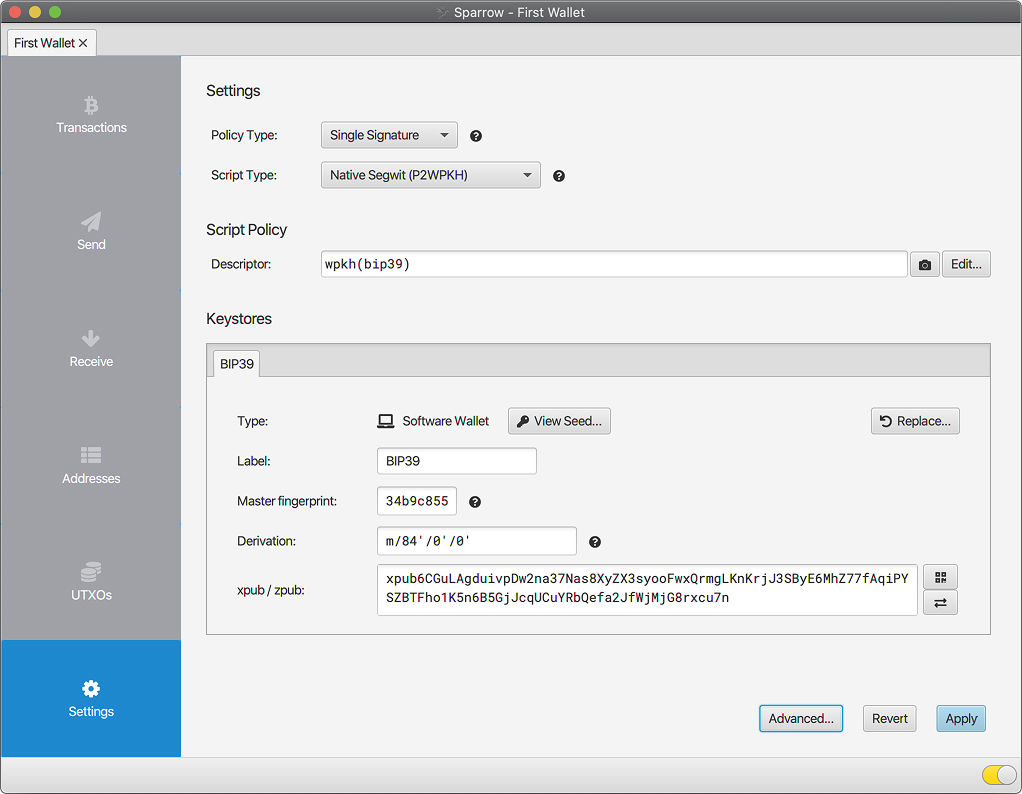
Sparrow will calculate your master fingerprint and extended public key (xpub). Click the blue Apply button at the bottom right. You will be prompted to create a strong local password. This password encrypts your master file on your hard drive, protecting it from unauthorized access if your computer is compromised or misplaced.
Securing Your First Address
With your setup complete, navigate to the Receive tab on the left navigation bar. Click the Get Next Address button to produce your first cryptographic destination.
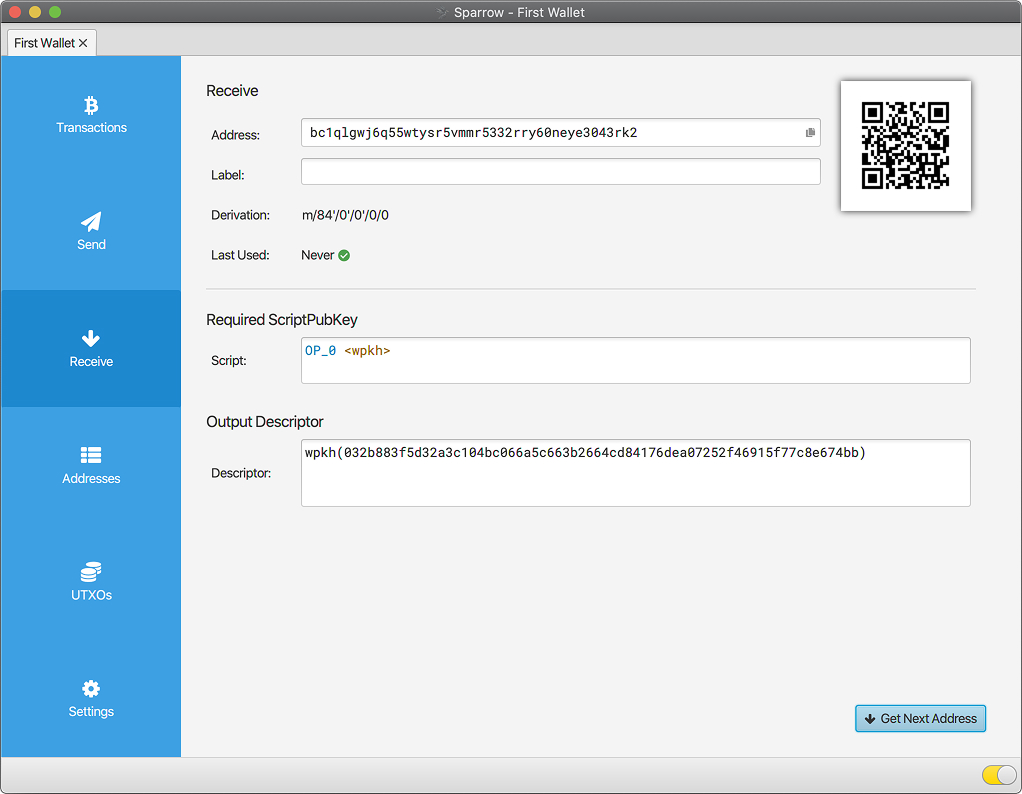
You will see a standard bc1q Native Segwit text address alongside its corresponding QR code. We highly recommend using the Label field to document the incoming fund source before sharing the address. This practice forms the bedrock of solid UTXO management. Once an incoming transaction hits this address, Sparrow automatically shifts the pane to a fresh, unused address to prevent address reuse and safeguard your ongoing privacy.